

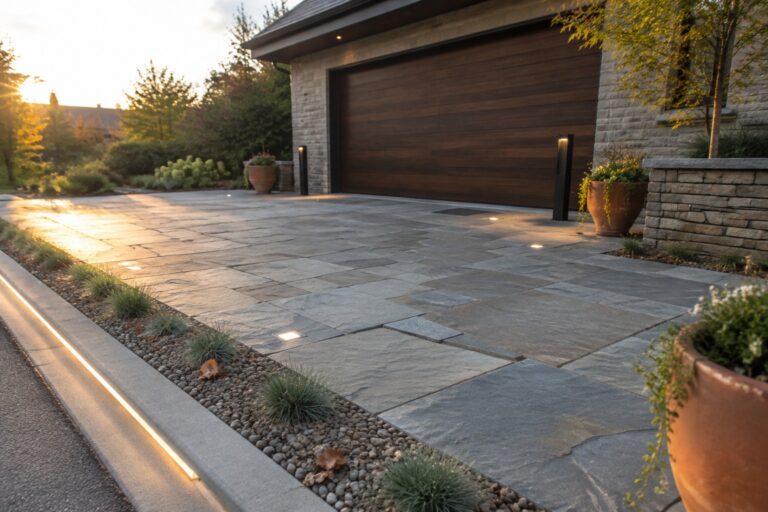
A driveway can feel unfinished after dark when its edges disappear and the route to the door is hard to read.
I find that low-voltage lighting works best when it follows the shape of the space rather than competing with the house or garden.
Well-placed lights can guide cars and guests while making borders, planting beds, and paths easier to see.
The key is choosing fixtures and spacing that define the layout without creating glare or a runway effect.
Some of these approaches are simple enough to test along one stretch first, then adjust to suit your home and yard.
Define the Driveway Edge With Low-Voltage Lighting

A narrow strip of low-voltage lighting along the driveway edge helps make the route easier to follow after dark. It also gives the paving a clear boundary, which is especially useful where a driveway meets a planting bed.
For a similar setup, place the lights just inside the curb and keep them shielded so they guide drivers without shining toward the house or street. A slim, continuous line works well on long edges, while a few recessed lights can mark turns or changes in the path.
Use Low-Voltage Lights Along the Path
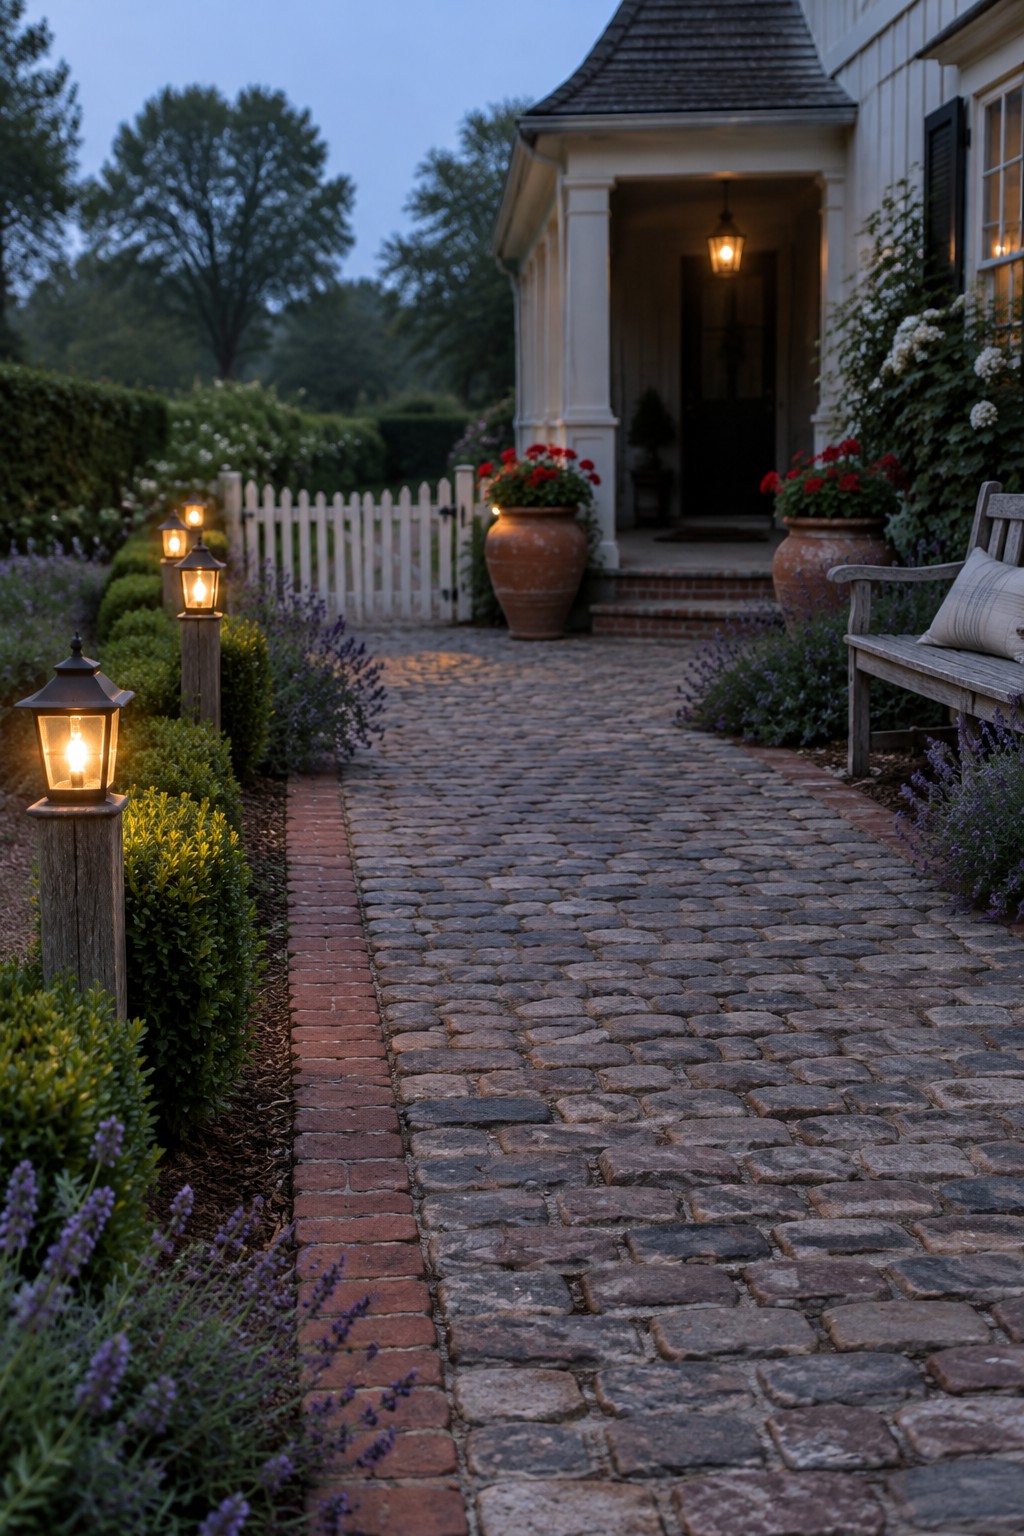
Low-voltage lights placed along a walkway make the edges easier to see after dark. Here, lantern-style fixtures line one side of a cobblestone path, giving a clear guide toward the front door without lighting the whole yard.
For a similar look, space fixtures evenly and aim them down toward the walking surface. This works well along long driveways and garden paths, too. Keep the lights low enough to avoid glare, and choose a warm, steady glow.
Use Low-Voltage Lighting to Mark a Garden Path

A low-voltage light tucked along the edge of a path helps people see where to walk without filling the yard with bright fixtures. Here, a slim strip runs beside the paving, giving the walkway a clear outline.
This approach works well along a front walk or a side path where the edge might otherwise be hard to see after dark. Choose outdoor-rated fixtures and keep the light low and shielded so it marks the route without shining into the house or your neighbors’ yard.
Use Low Lights Along the Driveway Edge

Low-voltage lights placed beside a driveway can make its route easier to follow after dark. Here, small ground lights pick out the bases of the olive trees, showing how fixtures can mark an edge without lining the gravel with bright posts.
This approach works well for a curved drive or a path bordered by planting. Space the lights far enough apart to guide the way without creating glare, and aim them at the ground or tree trunks rather than toward drivers’ eyes.
Use Low-Voltage Lights to Guide a Curving Driveway

Low lights along a curving driveway help show where the drive ends and the planting beds begin. Here, small fixtures built into the timber retaining wall mark the edge without filling the path with bright light.
This approach works well on gravel drives or paths that bend toward a home. Space the lights evenly and aim them down, so they guide visitors while keeping glare out of their eyes.
Use Low Lights to Mark the Driveway Approach

Low-voltage lights can make a broad paved approach easier to follow after dark. Set along the edge rather than scattered through the center, they give drivers and guests a clear visual guide without competing with the house.
Use shielded fixtures with a warm, steady glow, spaced evenly along the route. The small lights beside the clipped hedge show how the approach can stay defined while the planting remains the main border.
Add Low-Voltage Lights Along a Garden Walk

Low lights set into a raised planting edge can make a garden path easier to follow after dark. Here, the fixtures cast light across the brick paving without taking up space along the walking surface.
This approach works well for a narrow side path or driveway bordered by a wall or planting bed. Space the lights evenly and aim them toward the route, keeping the glow low enough to avoid glare.
Add Recessed Lights to a Cobblestone Driveway
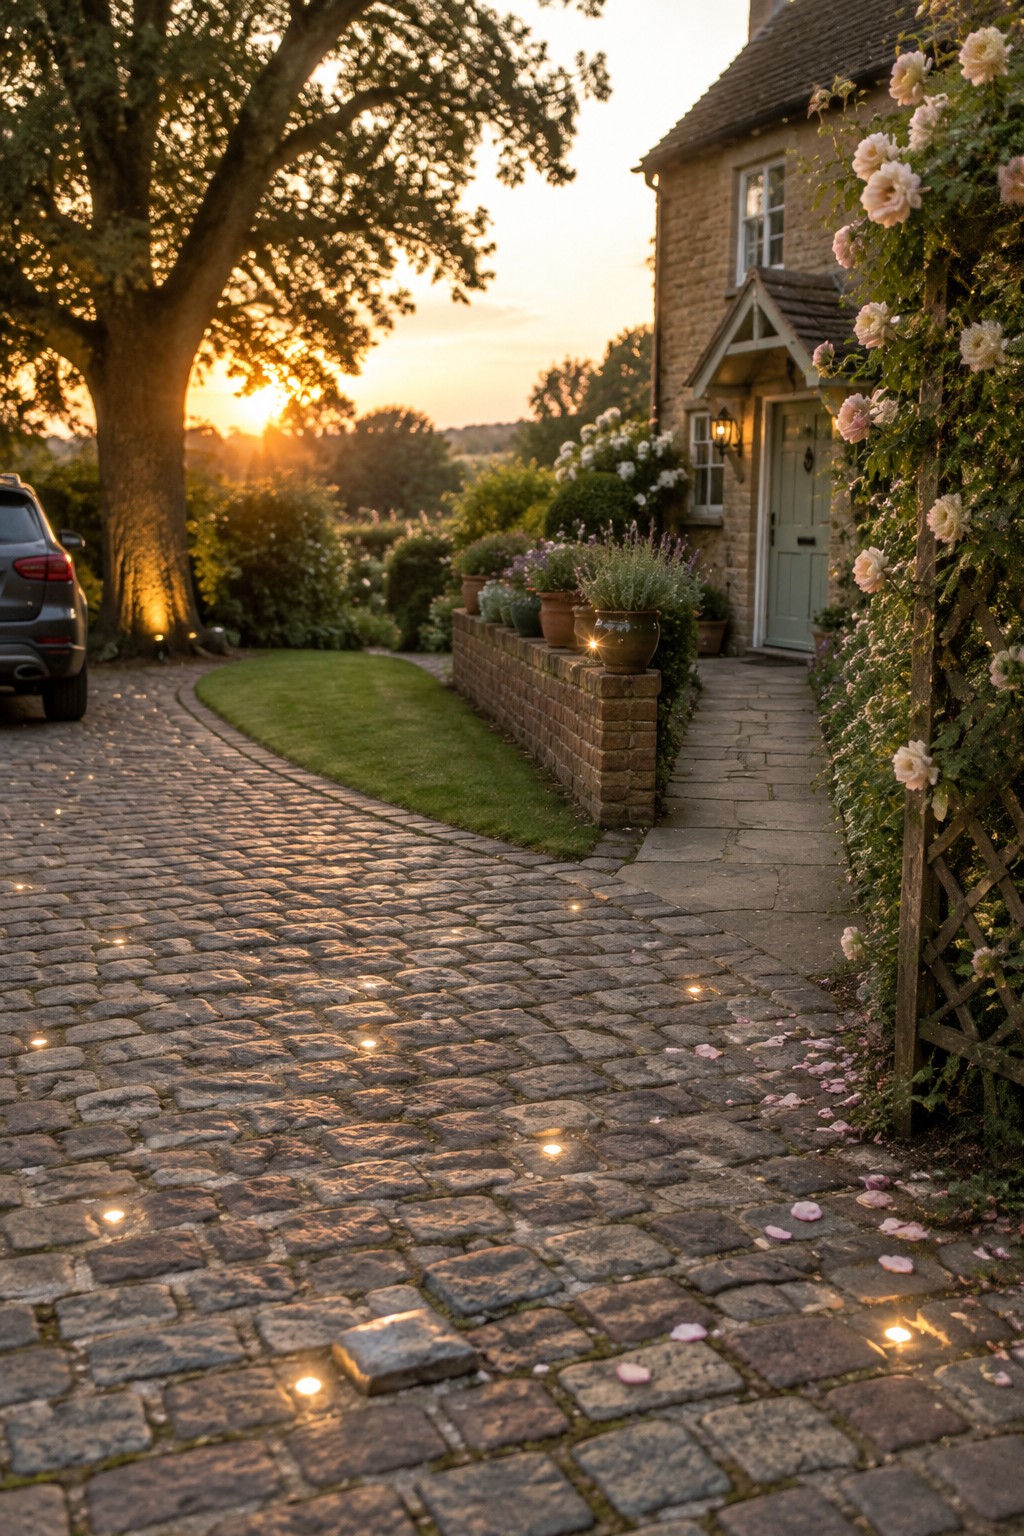
Small low-voltage lights set into a cobblestone drive can mark its edges without adding fixtures that stick up into the way. They also help define the route to the front door after dark.
Place the lights at regular intervals, especially along curves and near the walkway entrance. Choose fittings rated for outdoor ground use, and make sure they sit flush so cars and foot traffic can pass over them safely.
Use Step Lights to Mark Changes in Path Level
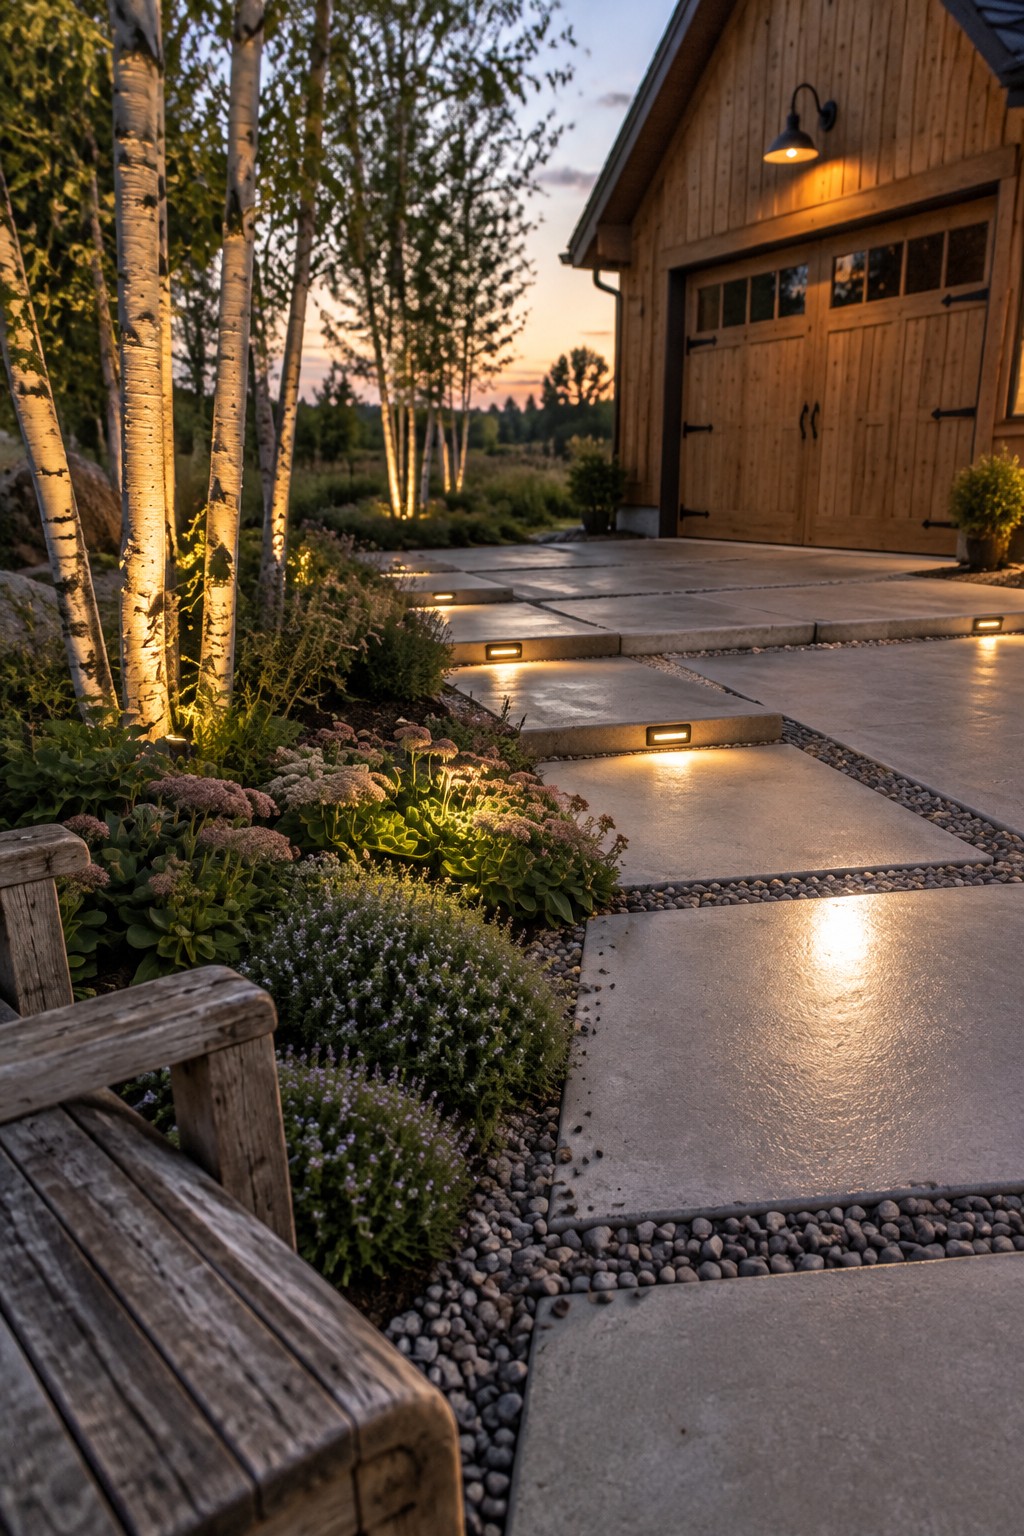
Low-voltage lights built into the sides of raised paving make each change in level easier to see after dark. They mark the route without needing tall fixtures along the path.
This approach works well where a driveway or garden walk has broad steps or changes in height. Place the lights consistently and aim them down at the paving, so they guide people without shining into their eyes.
Line a Stone Entry Walk With Low-Voltage Lights
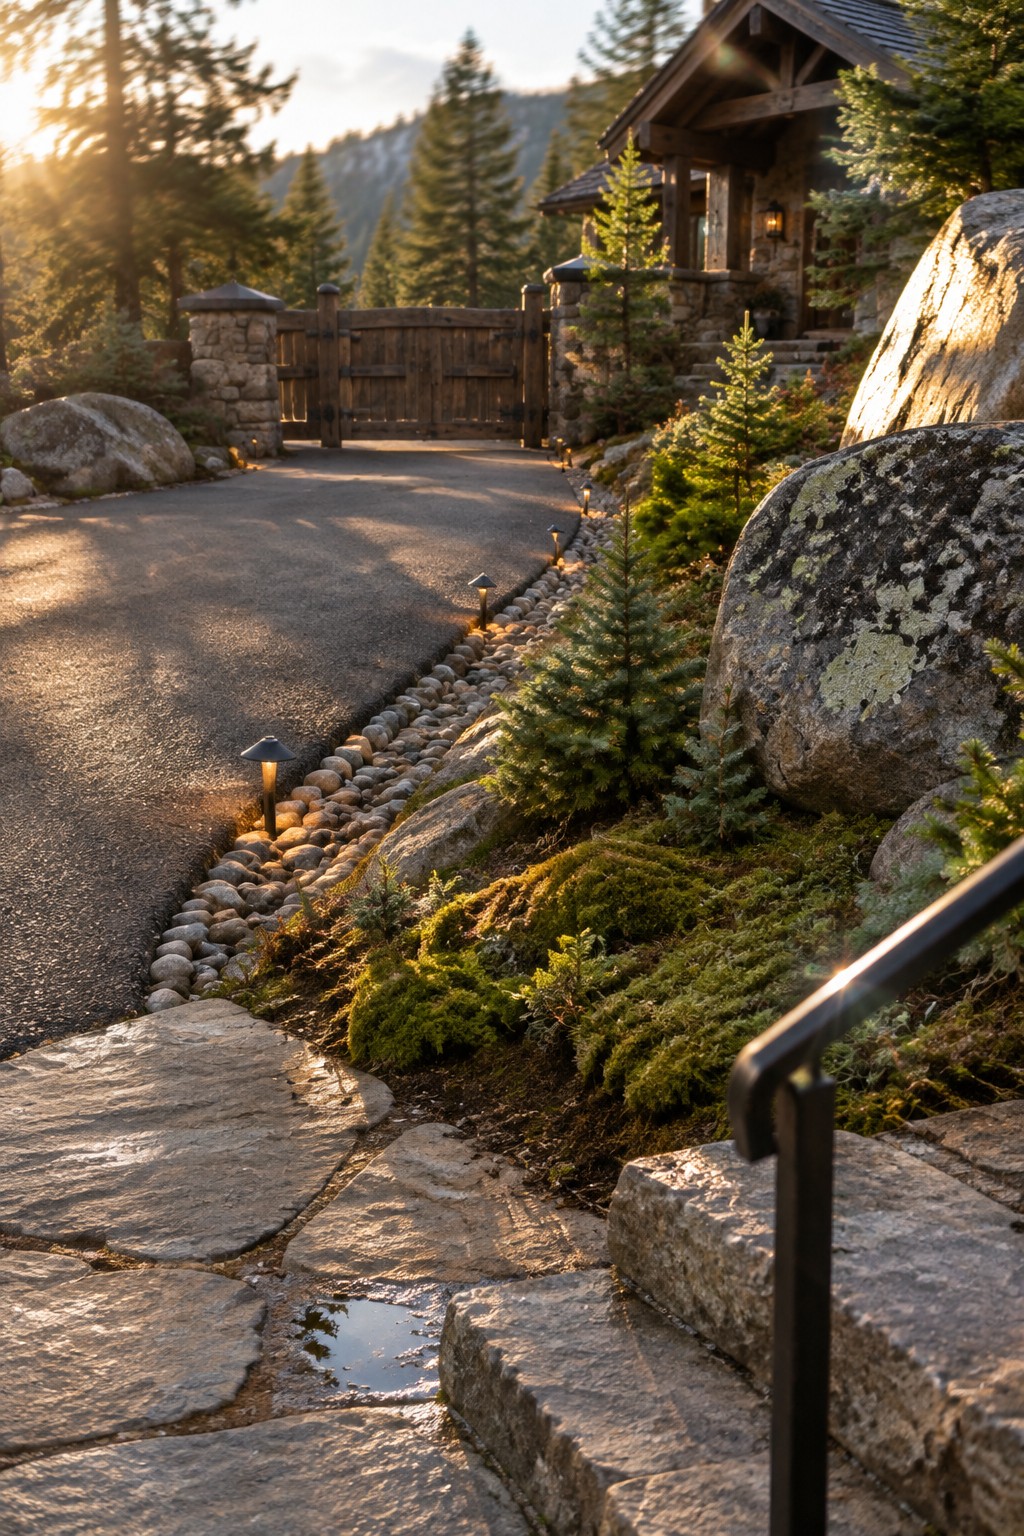
Low lights set along the edge of a stone walk make the route to an entry easier to follow after dark. Keeping the fixtures low helps mark the path without competing with the home or shining directly into people’s eyes.
This approach works well where a walkway meets a driveway or has steps and uneven paving. Place lights at steady intervals, and keep them near the path edge so the route stays clear without making the stonework look crowded.
Run Low-Voltage Lights Beside a Gravel Drive

Low lights along a gravel drive make its edges easier to follow after dark. Here, small fixtures on the fence and lighting along the bed curb mark the route without putting bright lamps in the middle of the path.
Use low-voltage fixtures at steady intervals, keeping them close to the edge so they guide drivers and walkers without shining into their eyes. This approach works well for long or curved drives, especially where gravel meets a planted bed.
Use a Lighted Strip to Define the Poolside Walkway
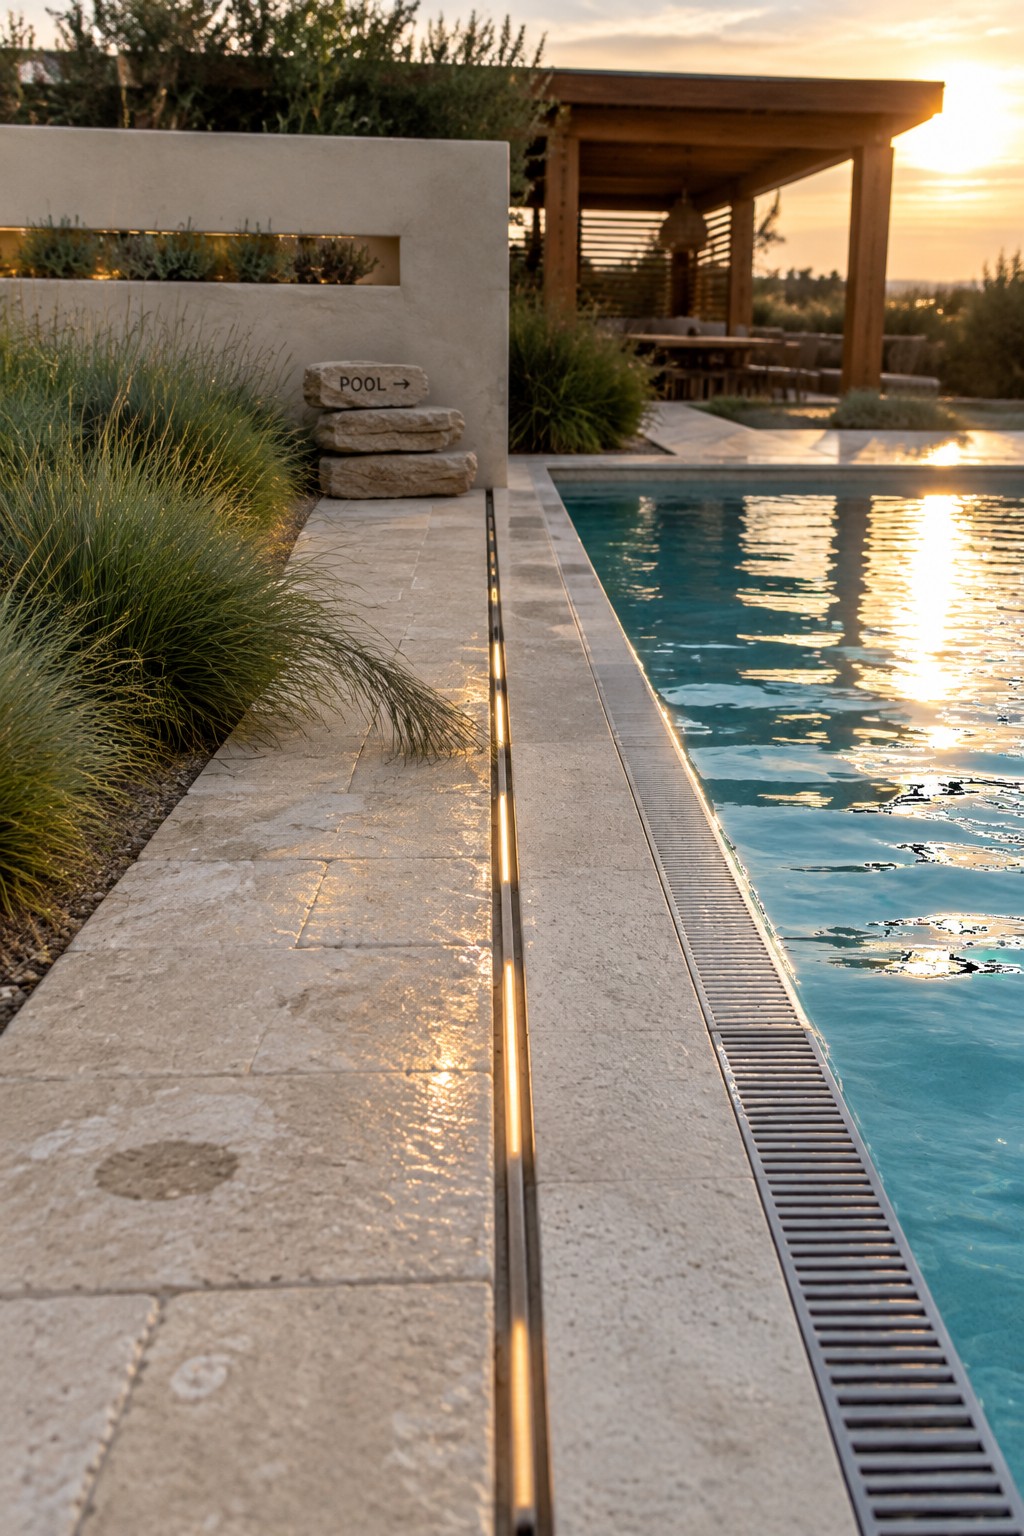
A slim, continuous light set into the paving can make a walkway easier to follow after dark. It also marks the edge beside the pool without adding freestanding fixtures that could get in the way.
This approach works well along a straight path where you want a clear, even guide. Choose outdoor-rated low-voltage lighting, and make sure the fitting is suitable for wet areas near a pool.
Add Subtle Lights Along a Narrow Walkway

Low-voltage lights set into the edge of a walkway can make a narrow side path easier to follow after dark without taking up walking space. Here, the small lights sit flush with the pavers, while the planting bed helps define one side of the route.
This approach works well beside a house or fence where there is little room for larger fixtures. Space the lights evenly and aim for a gentle glow rather than bright spots. Have the wiring and placement planned for outdoor use and easy access if repairs are needed.
Use Lighting to Trace the Driveway Edge

A narrow line of low-voltage lights along the driveway edge makes the route easier to follow after dark. Here, warm light washes the raised planting border and marks the boundary without putting fixtures in the middle of the path.
This approach works well where a driveway runs beside a garden bed or water feature. Use shielded, low-profile fixtures and space them evenly so the light guides the way without creating glare.
Use Path Lighting to Define the Garden Walk
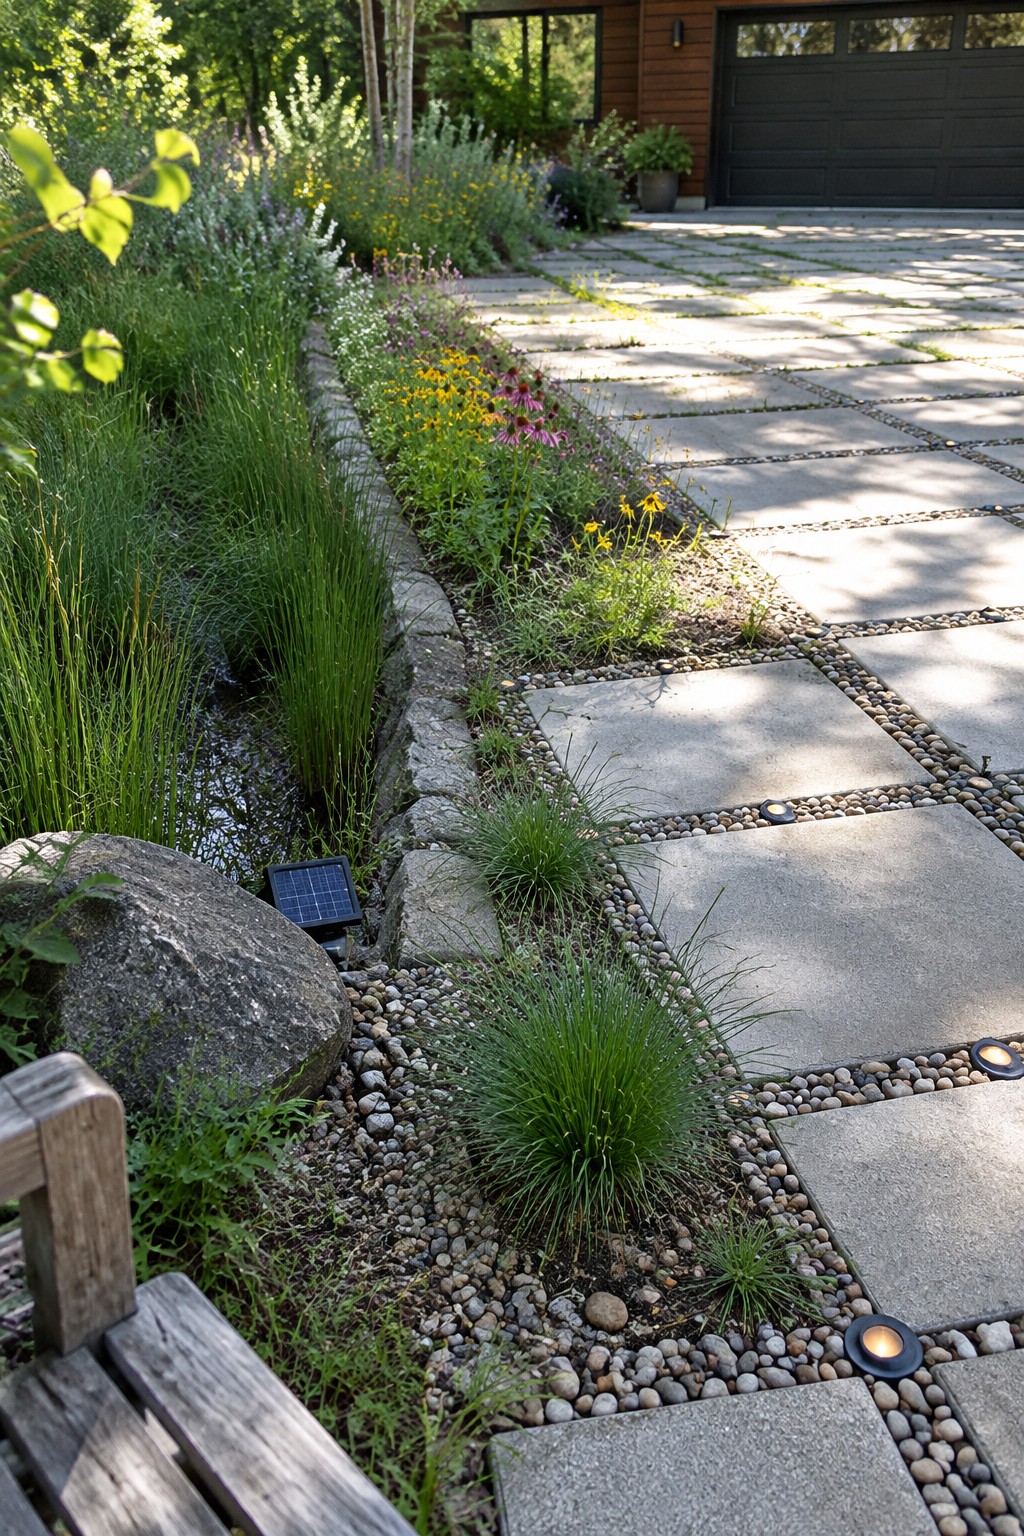
Low-voltage lights set into the edges of a stone path make its route easier to follow after dark. Spacing them along the walkway also helps define the boundary between the paving and the planting bed.
This approach works well on broad garden paths where the route might otherwise blend into the surrounding landscape. Choose fixtures made for ground installation, and place them so they mark the edge without shining directly into someone’s eyes.
Use Lanterns to Mark a Garden Gate

Low-voltage lights can make a garden entrance easier to find without lighting every part of the yard. Placing a fixture on each side of a gate gives the path a clear starting point and helps define where people should walk.
This approach suits a cottage garden or a narrow path that leads from the drive to the house. Choose outdoor-rated lantern-style fixtures and keep their light aimed down toward the entrance, so the gate is visible without creating glare.
Use Bollard Lights to Mark a Curving Path
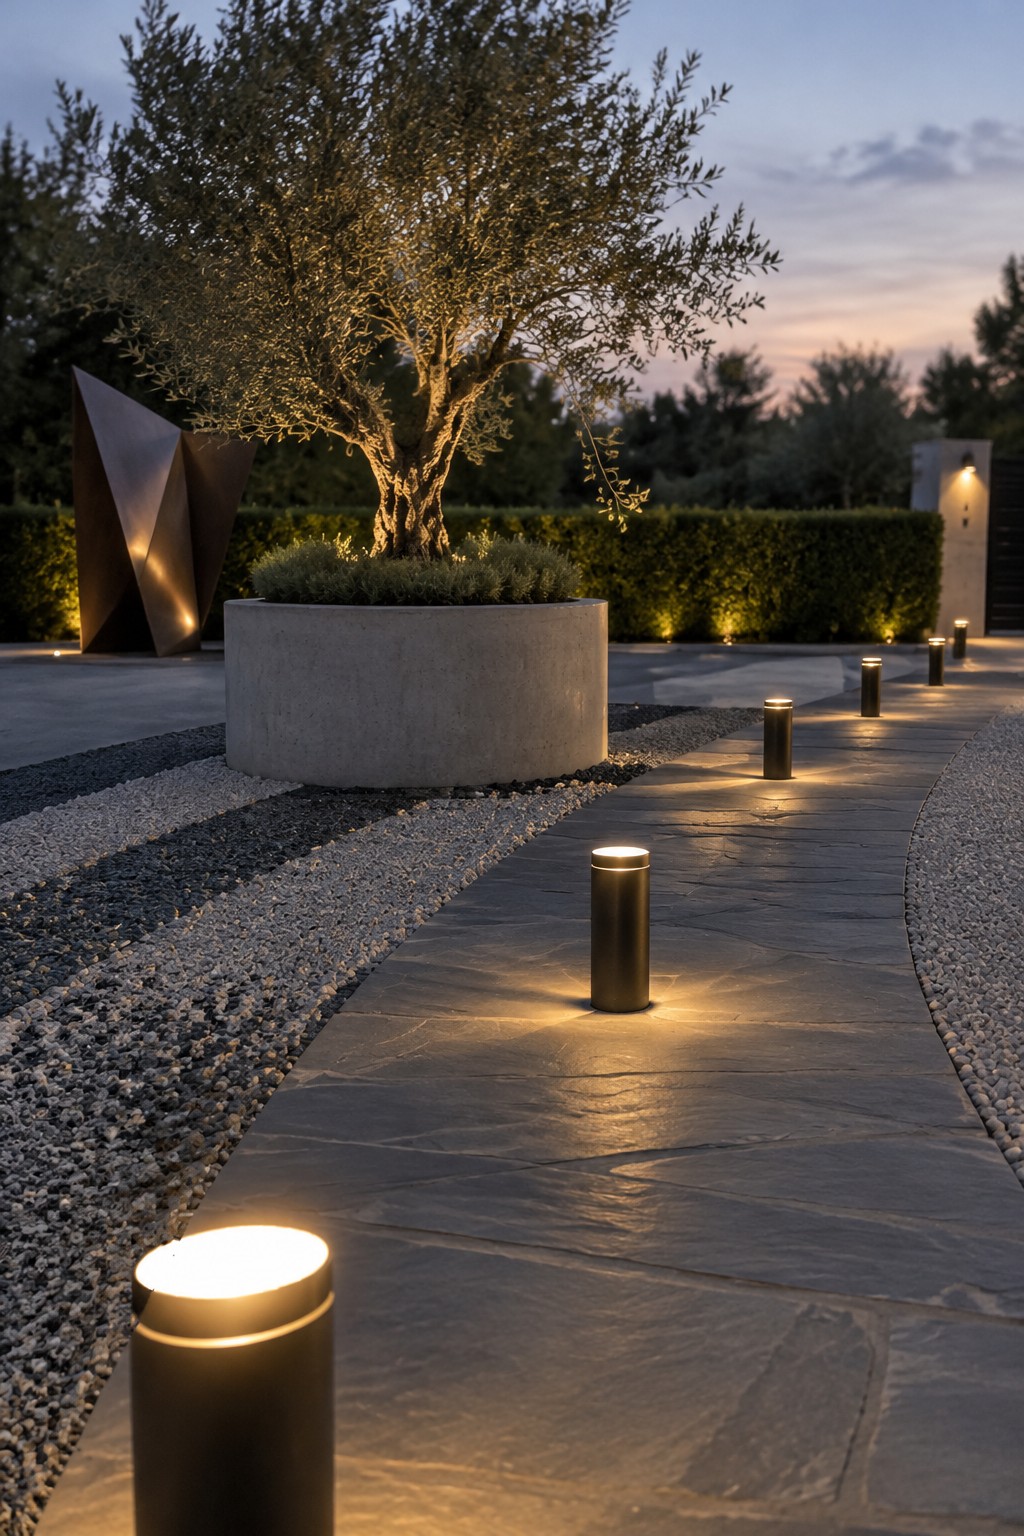
Short bollard lights can make a curved walkway easier to follow after dark. Their low height keeps the light close to the paving, while an even rhythm of fixtures gives the path a clear edge without needing a bright overhead light.
For a similar effect, place the lights along one or both sides of the walk, spacing them evenly and keeping them out of the way of foot traffic. This approach suits stone paths and driveway approaches, especially where the route bends or meets gravel.
Light a Low Garden Wall to Mark the Path

A low-voltage strip tucked beneath a raised planter cap can make the edge of a walkway easy to follow after dark. The light also helps separate the path from the planting bed without adding tall fixtures that interrupt the view.
This approach works well beside a stone walk or driveway, especially where the path runs close to a retaining wall. Use a warm, shielded fixture and keep the glow aimed down so it guides footsteps without shining into nearby windows.
Frequently Asked Questions
Q: How far apart should I space low-voltage lights along a driveway?
A: Start with wider spacing, then add lights where the path bends, narrows, or meets a step. A few well-placed fixtures usually guide the way better than a row packed close together.
Q: Can I install driveway lighting without digging up the whole edge?
A: Yes. Many low-voltage systems use slim cables that you can tuck under mulch or shallow soil beside the driveway. Check the cable depth and placement instructions before covering it.
Q: What kind of lights work best for marking driveway edges?
A: Short path lights or shielded spotlights can define the edge without shining into drivers’ eyes. Aim the beam down, and keep fixtures low enough that they don’t get clipped by tires or snow shovels.
Q: Should driveway lights stay on all night?
A: They don’t have to. A timer or dusk-to-dawn sensor can switch them off later, while motion-activated lights are handy near the entrance.
